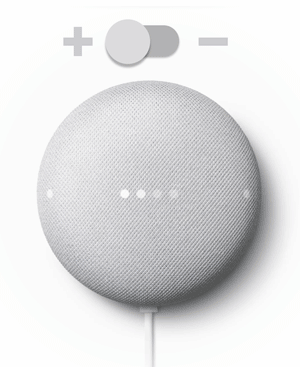
你可以使用裝置背面的螺絲孔,將 Google Nest Mini 掛在牆上。請先確認已設定 Google Nest Mini,再固定在牆上。

Google Nest Mini 壁掛安裝
如要將 Nest Mini 安裝在牆上,您必須擁有下列工具 (皆非隨附配件):
- 一根 #8 平頭螺絲釘 (底端和頂端皆平坦,螺紋圓滑)
- 一根壁錨 (視牆面類型而定,例如石膏牆或砌面牆就需要)
- 一把螺絲起子,或帶有螺絲鑽頭的電鑽
- 選擇一個靠近電源插座且在 Wi-Fi 網路範圍內的位置,確認裝置能正常連線,再掛到牆上。
- 將 Nest Mini 裝置接上電源插座。
- 將裝置貼緊要固定在牆上的位置。
- 說出「Ok Google」並且提問或下指令,確認裝置能夠連線至網路。
- 如果需要使用壁錨,請按照壁錨包裝上的操作說明將壁錨插入牆中。壁錨的頂端應與牆面齊平。
- 使用螺絲起子或電鑽,將螺絲固定在牆上或壁錨中。請務必在螺絲頭與牆壁之間留下 2 公釐 (0.079 英寸) 的空隙。
- 使用 Nest Mini 裝置背面的螺絲孔,將 Nest Mini 掛在螺絲上。裝置背面應該緊貼牆壁。
調換裝置控制項的位置
將 Nest Mini 固定在牆壁上後,你可以反轉裝置上的音量控制項和 LED 燈,使其朝向正確方向。
- Make sure your mobile device or tablet is linked to the same account as your speaker.
- 開啟 Google Home 應用程式
。
- 按住裝置的圖塊。
- 依序輕觸 [設定] 圖示
[音訊]
。
- 開啟 [調換裝置控制項的位置]。