|
This article only applies to the Nest Thermostat. |
Note: If your thermostat is not listed above, go to our How to install your Nest thermostat article for the Nest Thermostat E or Nest Learning Thermostat.
The Google Nest Thermostat is set up in the Home app. The app will guide you all the way through checking compatibility, installation and setup. It will help you to select all the right options for you and your home. Below are all the steps, along with helpful troubleshooting tips.
If you'd like to watch a short video about thermostat installation, take a look at How to install and set up the Nest Thermostat.
1. Get your tools ready
- Phillips screwdriver, head no. 1 (3 mm)
- Flat-head screwdriver
- Power drill (optional)
- Pliers and wire strippers (optional)
- Torch (optional)
- Nest Thermostat Trim Kit (optional)
2. Download the Home app
Download the Google Home app from Google Play or from the Apple app store.
Sign in to the app with your existing Google Account or create one.
3. Scan the QR code
Note: You'll need to be able to touch your thermostat to add it to your account in the Home app. This means that you won't be able to add it remotely. Once you've added your thermostat to the app, you can control it remotely when you're away from home.
Scan the QR code on the back of the display or enter the code manually.
- Open the Home app
.
- Tap Devices
Add
.
- Choose a home.
- The app will search for devices that you can add. If it doesn't find your thermostat, select it from the list.
- To continue with a QR code: Scan the QR code on the back of your Nest Thermostat display.
Tip: If the scan is unsuccessful, you can tap Continue without scanning. Select the thermostat that you are setting up and enter the code on the back of the thermostat display. - The Home app will walk you through installation.
4. Install your thermostat
- Make sure that your current system is working properly before you install your new thermostat.
- Turn off power at the circuit breaker.
- Remove the cover from your existing thermostat and take a photo of the wiring for reference later.
- Note: If your existing thermostat is labelled 120 V or 240 V, has stranded wires or has thick wires with terminal blocks, your system is high voltage and not compatible.
- Remove jumper wires. If your wire connectors have two sets of labels, the app will ask you some questions to help you identify which label you will use.
- Tick off which wires you have and label each one with the stickers provided from the box.
- Disconnect the old thermostat.
- If you are using the Nest Thermostat Trim Kit, attach it to the wall now. Otherwise, you can connect the base plate directly to the wall.
- Press the buttons and insert each wire into its corresponding slot. The buttons will remain pressed.
- Note: If you have a wire in the *OB slot (could be used as W2, Y2, O, B, etc), when you set up Nest Thermostat, you must declare that wire according to its function (example: W2).
- On the back of the thermostat display, pull out the clear battery tab. The display may turn on.
- Attach the thermostat display onto the base until it clicks into place. Now, you can turn the power back on at the circuit breaker and connect your thermostat to your Home app.
5. Set up your thermostat
After your Nest Thermostat has been detected by your Home app, you can select a language and perform a quick system power test.
Your Home app will now ask some questions about your heating or cooling system and the thermostat will calibrate its temperature sensor for your home.
6. Configure your thermostat
Your Home app will look for Wi-Fi networks for you to choose from. Pick one to connect to and continue customising your thermostat.
- Add a home address for the Home app to use to know if you are home or away.
- Tell the Home app where in the home the thermostat is located. This will be used for device organisation and voice commands.
- You can create some settings to save energy by scheduling temperatures for each part of your day.
- Set your temperature presets that you can use at any time.
- Create a schedule for these presets to be activated in your home.
- Home/Away Assist could be turned on to use Eco Temperatures when the Away routine starts and return to your scheduled temperatures when the Home routine starts.
You will get heating and cooling system alerts if there are system issues and receive seasonal reminders for check-ups.
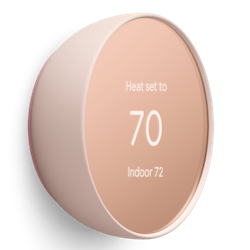
Change temperature
On the right-hand side of the thermostat, swipe up and down to change the temperature.
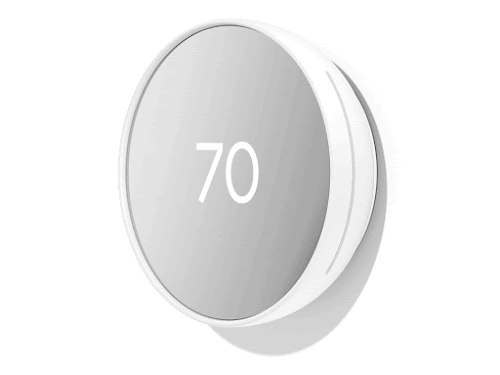
Navigate menus
- On the right-hand side of the thermostat, tap the touchbar to open the menu.
- Swipe to change what's selected.
- Tap to confirm your selection.
To learn more, take a look at these videos: