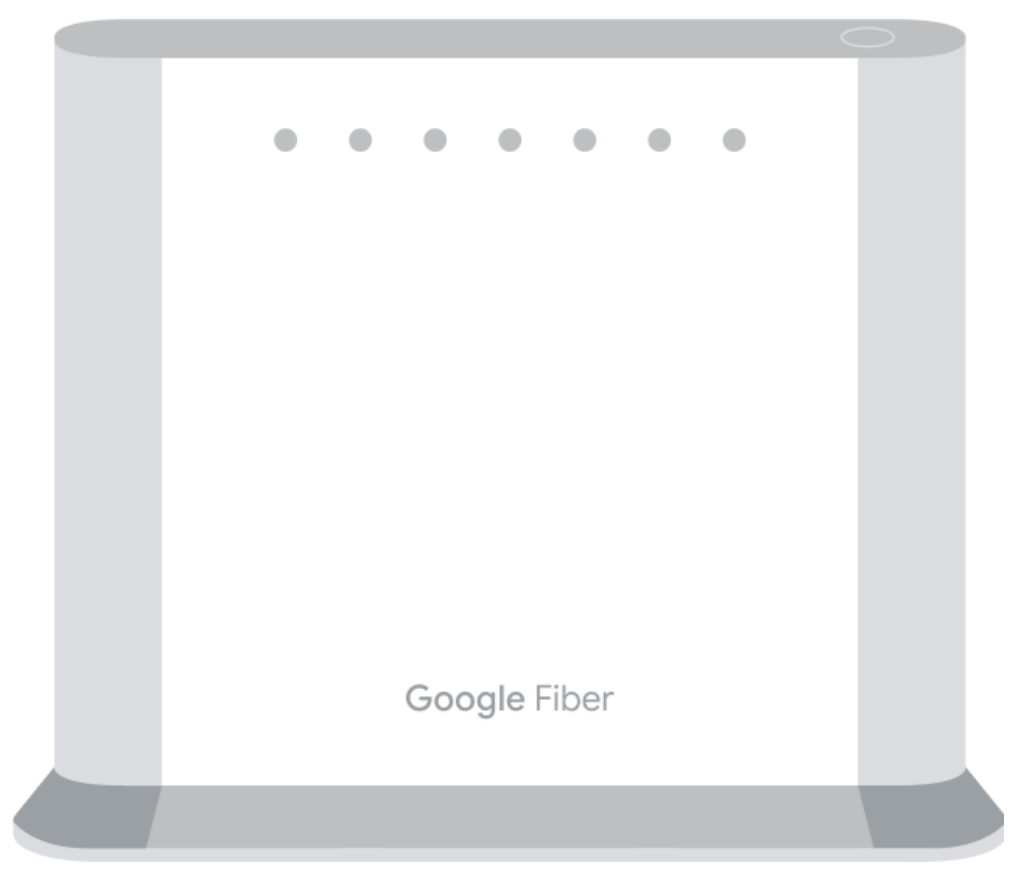
GFiber Wi-Fi 6 Router overview

With the Wi-Fi 6 Router, you can reach faster wireless speeds with Wi-Fi 6-compatible devices than you could with Wi-Fi 5.
Some technical benefits of Wi-Fi 6 include:
- Twice as many devices can be connected at the same time as with Wi-Fi 5, at faster speeds (with compatible devices)
- High-end security standards with WPA3 (vs WPA2 with Wi-Fi 5)
- Better battery life for Wi-Fi 6-compatible devices
- A more reliable connection due to a less congested network
Routers work best in uncluttered, uninterrupted spaces. Fewer walls between your router and your device means a better signal for you. When paired with a GFiber Mesh Extender, our Wi-Fi 6 Router can provide coverage throughout even the largest homes.
Self-Install Kit instructions

- Your new GFiber Wi-Fi 6 Router

- One Fiber Jack power adapter

- One Ethernet cable

- Mesh Extender(s) (optional).
- Some customers may have also received a Mesh Extender. You can find more information about this equipment in the section below about how to set up a Mesh Extender.
- Some customers may have also received a Mesh Extender. You can find more information about this equipment in the section below about how to set up a Mesh Extender.
- The GFiber App
- We recommend downloading the GFiber App. It contains step-by-step instructions to help set up your internet, but you can also refer to the guide below.

- We recommend downloading the GFiber App. It contains step-by-step instructions to help set up your internet, but you can also refer to the guide below.

You’ll need access to the internet to set up your new router. You can use a phone (or tablet) that has internet service to complete your setup.

The Fiber Jack is what allows GFiber's fiber optic signal to come into your home.
It’s a small white box that’s usually installed on a wall in your living room. If it isn't there, you might find it in an out-of-the-way spot like a closet, behind a couch in your living room, or in the garage. If you need more information on locating your Fiber Jack, watch this quick video or check out About Fiber Jacks.


Using the power adapter in your kit, connect the Fiber Jack to the nearest wall outlet. The Fiber Jack will display a red light while powering up. The Power light on the Fiber Jack should turn solid green or blue once it’s powered on and ready for setup.

-
Plug one end of the ethernet cable into your Fiber Jack’s ethernet port and the other end into the red ethernet port on your router.
-
Connect the power adapter from the router to the adjacent wall outlet.
-
Connect the Fiber Jack to the Wi-Fi 6 Router using the ethernet cable.
-
The light on the router may flash yellow or blue as it turns on and connects to the network. The light will turn blue once setup is complete and the router is fully online.

If you’re using the app for setup, you’ll be prompted to create a network name and password for your main Wi-Fi network. Or, you can log into your GFiber account on the web with your email and password to set up your Wi-Fi network.

A Mesh Extender allows you to expand your Wi-Fi signal further in your home. You can set yours up now, or do it later from the Home tab in the GFiber App.
By the way, your router may need to finish a firmware update before you can install the Mesh Extender.

The type of Mesh Extender you have corresponds with your router. When you have a GFiber Wi-Fi 6 Router, your Mesh Extender should have a long triangular shape. You can follow the steps in this article about how to set up a Mesh Extender to complete the setup process or set it up using the GFiber App.